
If you are a Nexus 4 user, and you have been always using custom roms, also you want to try the latest Android 5.1.0 rom, here is a tutorial show you how to install Android 5.1 lollipop custom rom on Nexus 4, this time we use the Simple AOSP rom for Nexus 4, which was built a few hours ago, tested and all thing working fine. here is the community of Simple AOSP on Google+.
You need three things.
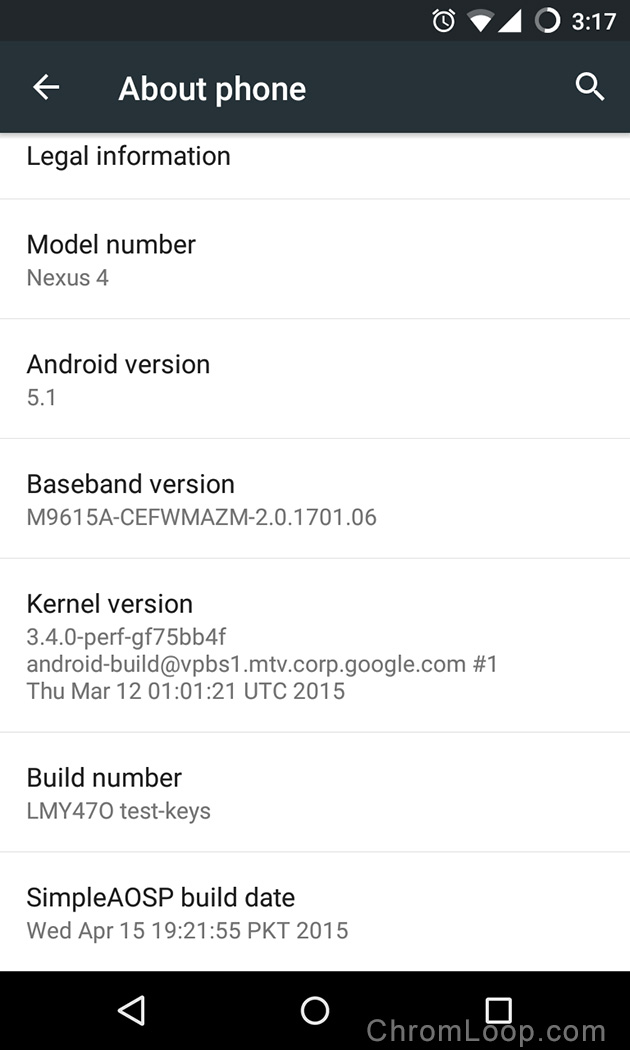
- Latest 1.06 Baseband for Nexus 4 coming with Android 5.1 flashable package. Driect Download link radio-mako-m9615a-cefwmazm-2.0.1701.06.zip.
- Simple AOSP rom package with LMY47O binary files. Direct download link simpleaosp_mako-ota-4-15-15.zip.
- Gapps for Android 5.1. Direct download link gapps-L-5.1-mustbe-txuki_050415_multidpi.zip.
Remember, first, You need Third part Recovery to continue this tutorial, like CWM recovery or TWRP recovery, DO NOT flash anything upon there with the official Recovery, or you may BRICK your phone. Second, after you update your phone’s baseband, you should not flash any roms which is lower than current system version, or the phone will lost the network function. don’t worry, you can always flash older baseband to avoid this issue.
OK, you get all three packages and put them in your Nexus 4 storage, make sure your phone charged or have 60% battery at least, now let’s reboot your phone into recovery mode. Here is the process with CWM recovery.
-Make a back up of your system and data.
-Wipe Data.
-Wipe Cache.
-Flash Baseband package.
-Flash Simple AOSP
-Flash Gapps
If everything progressing well, then reboot, waiting for system building cache as it is the first time running, will need 5 minutes at least, be patient. From now on, you succeed install the Android 5.1 with Nexus 4, when others are waiting for Google to plus the OTA system update package, though you need reinstall your apps.
 Subscribe to Chromloop
![[APK] Camera NX 7.4 is Here, Base on Google Camera 5.2, All Features & Bring back HDR+ for Nexus2015](../../../wp-content/uploads/2016/12/Camera-NX-Google-Camera-MOD-260x150.jpg)
![[APK] Enable Portrait mode on Nexus 5X/6P & OG Pixel phone with Google Camera mod (Updated 7.3.1)](../../../wp-content/uploads/2017/12/Portrait-mode-on-Nexus-5X-with-Camera-NX-mod-260x150.png)
![[Updated] Camera NX V7.2 for Nexus 5X/6P & Pixel Base on Google Camera 5.1 from Pixel 2, Motion Photo and More](../../../wp-content/uploads/2017/10/Camera-NX-v7-260x150.jpg)